

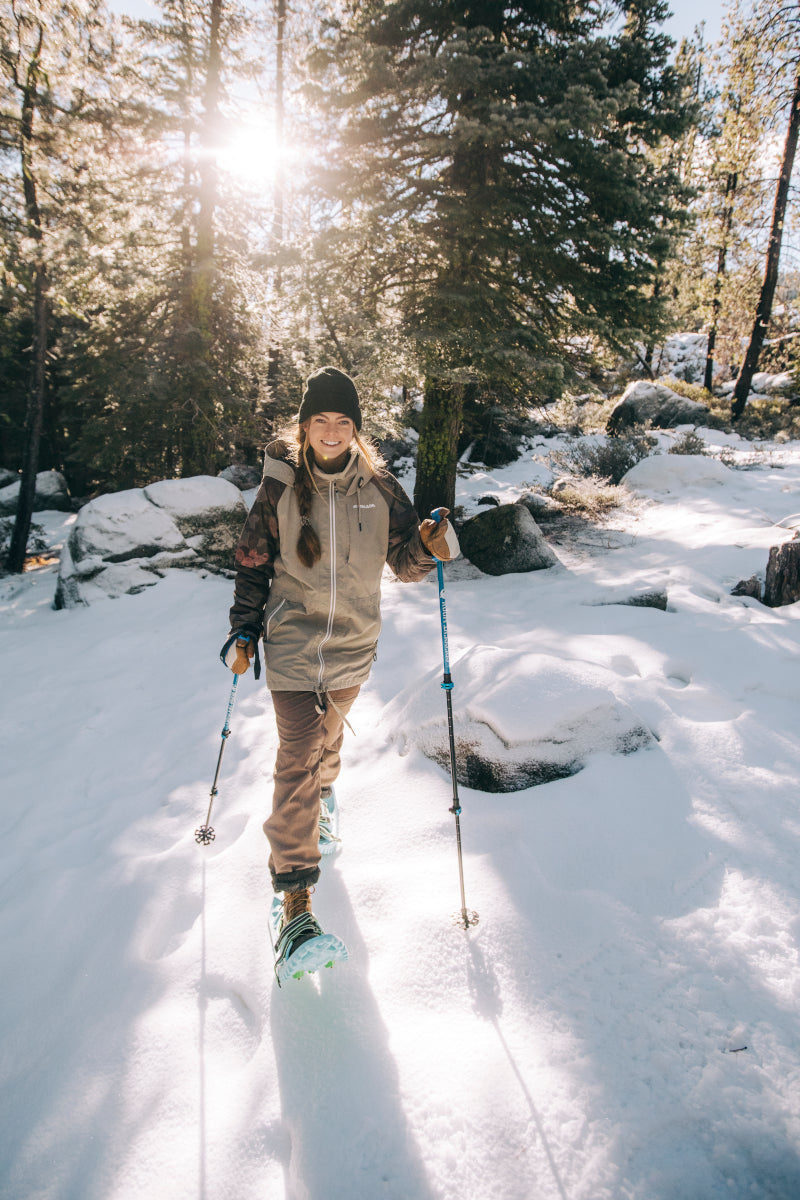
Some of us ski, some snowboard, and some even take the sled (snowmobile) out for a blast through powder covered meadows. For those who just miss hiking and backpacking in the winter: we have the answer. A quiet walk on a snow-covered track will soothe the soul.
It’s been said that if you can walk, you can snowshoe, but it might be advisable to find someone who has done this before to help you through your first awkward hike in the snow. Much of the appeal of this sport is that it is so easy to learn and almost anyone can do it. A good guide will teach you those few things you need to learn before you go to stay safe. They can help you choose the right location, gear, clothes, and technique that will give you the best possible first experience. Here’s what you need to know before you go.
Snowshoeing started thousands of years ago as an essential way of getting around in locations where the depth of snow is measure in feet and winters can be long and cold. Today it has become an immensely popular recreational activity. Why should you consider tackling snowshoeing?
- It’s a fantastic winter exercise. You will stay in great shape, it’s low impact and aerobic.
- It will extend your normal hiking season and let you enjoy solitude in places that might be hectic in the summer.
- All ages and abilities can enjoy a new sport together.
- It’s inexpensive to start. No lift tickets! Just snowshoes and poles, and appropriate clothing of course. You can even rent snowshoes for the first outing, but you will soon want your own.
- Very beginner friendly.
How to Choose Snowshoes
If you’re just getting into snowshoeing, renting gear is a great way to get started. The rental shop will set you up with snowshoes suitable to your weight and the conditions.
If you’re buying your first snowshoes, entry-level, flat terrain snowshoes are a great value. They’re designed for easy walking on flat to rolling terrain and are perfect for beginners.
Be sure to check the maximum recommended load for your snowshoes (your weight plus the weight of your pack filled with gear) and take into consideration the type of snow you’ll be travelling on (powder requires snowshoes with a larger surface area to keep you sailing on top of the snow).
How to Snowshoe
Walking on flat or rolling ground is fairly simple. Your stride will be wider and longer than it is for hiking to avoid stepping on the insides of your snowshoe frames. You may find new muscles in your hips and ham strings that will be aching a bit after the first few times you snowshoe. It’s always good to warm up with some stretches before you take off.
Uphill:
Traversing:
Traversing, sometimes referred to as “side-hilling”, is a snowshoeing tip for tackling super steep and rugged terrain. To keep your balance when moving across a slope, dig the uphill side of your snowshoes into the hill and keep your weight on the uphill foot. Side-hilling is a common method of travel and can be used to avoid overly steep or difficult terrain. Keeping your balance is key. The easiest way up is if you’re a beginner is to walk in the steps made by the person in front of you.
Use your poles. Lengthen the downhill pole and shorten the uphill pole so that their tops are even when their tips touch the snow.
Downhill:
When descending, stay relaxed, keep your weight slightly back, and make sure to firmly plant your heels. Backcountry-specific snowshoes commonly feature heel crampons to enhance your ability to brake. Keep your poles planted in front of you, knees bent and relaxed, and your body weight slightly back. Walk smoothly and plant your heel first when you walk. Adjust your poles to be a little longer to provide additional balance and control as you descend. If the slope gets steeper, make sure you keep your weight back. If you start to slip, just sit down.
How to Use Poles
Poles help with balance when traveling up or down hills. They also add an upper body workout. Adjustable poles are best because they can be shortened for uphill travel or lengthened for descending.
To adjust your pole length for flat terrain, flip your pole upside-down and grab the pole just under the basket. Set the length so that your elbow is at a right angle.
Put your hands up through the pole straps from below so that you can rely on the straps alone when you need to give your hands a rest.
How to Get Back Up After a Fall
You can—and likely will—fall at some point when you go snowshoeing. It seems to happen more often when headed downhill. When you feel yourself starting to go over, fall toward the uphill side. Slip your hands out of the pole straps and shift around until your head is uphill, your feet are straight downhill and you’re facing the slope with your knees pulled up close to your chest. Your goal is to press off the slope until you’re upright on your knees; then you can shift your weight onto your snowshoes and stand all the way up.
If you have poles, slide them under your chest, parallel to the slope, and then use them to press yourself up. If you fall in deep snow on flat terrain, you can make an “X” with your poles on the snow in front of you, then use the middle point as a brace while you push yourself up to a standing position.
If you don’t have poles, use your hands to press down, which will create divots in the snow. Fill the holes with more snow and keep pressing down into the same spots until you’ve built a solid base of compacted snow that you can use to press yourself up.
Where to Go
Anywhere there’s snow on the ground, there’s terrain suitable for snowshoeing. Local parks and woodlands are great spots for beginners to familiarize themselves with their equipment or to sneak in an after-work hike. Many ski resorts maintain dedicated, well-marked snowshoe trails and may even have trails specifically designed for beginners.
What to Wear
The right clothing affects everything from your comfort to your safety. You will want to dress in a combination of layers. Start out cool—it’s amazing how quickly you warm up once you get going!
Put a wicking base and mid layers with more weather-resistant outer layers. Outer layers made from breathable fabrics, like fleece and soft shells, are preferable to less breathable waterproof fabrics because they’re better able to dissipate heat as you move. Avoid cotton because it can get soaked and chill you. Be sure to pack an extra waterproof layer to stay warm when you take a break or if you get caught in a storm.
Always pack a winter hat and gloves, even for short trips. You might start out in something lightweight like a trucker hat and liner gloves, but pack a warm beanie and heavier waterproof mittens, along with a neck gaiter or balaclava, to adjust to changing conditions.
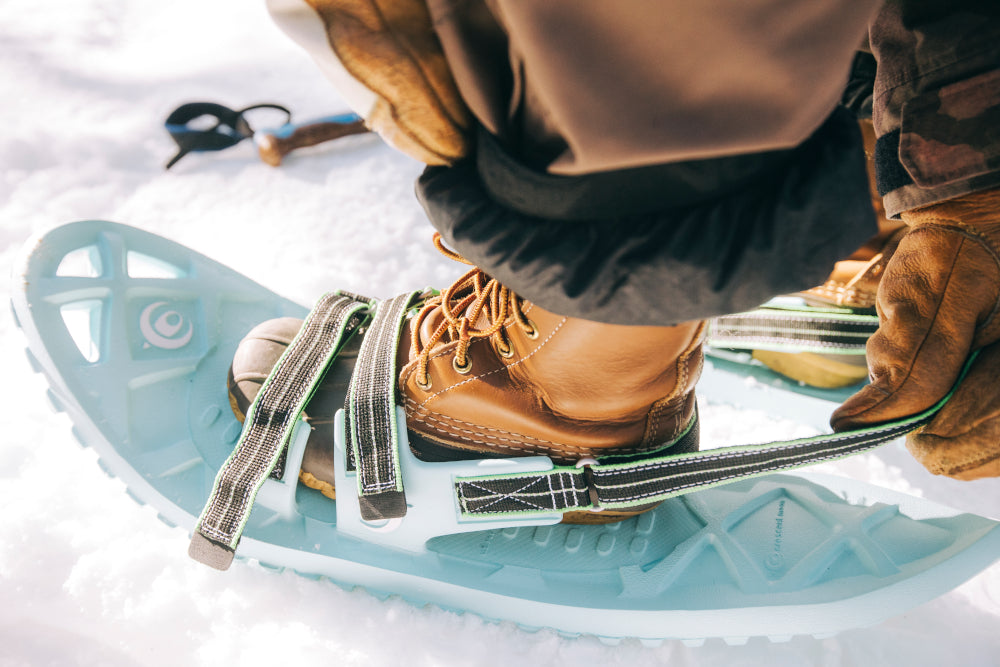
Your choice of boots is determined by the type of weather and terrain you plan to snowshoe in. Snowshoes will adjust to fit pretty much any type of boot or shoe. Insulated, waterproof winter boots are a popular choice. Gaiters will keep the snow out of your boots. Waterproof mid-height day hikers work well as snowshoe boots, provided it isn’t too cold. Make sure to add wicking quick-dry wool or synthetic socks.
Be Prepared
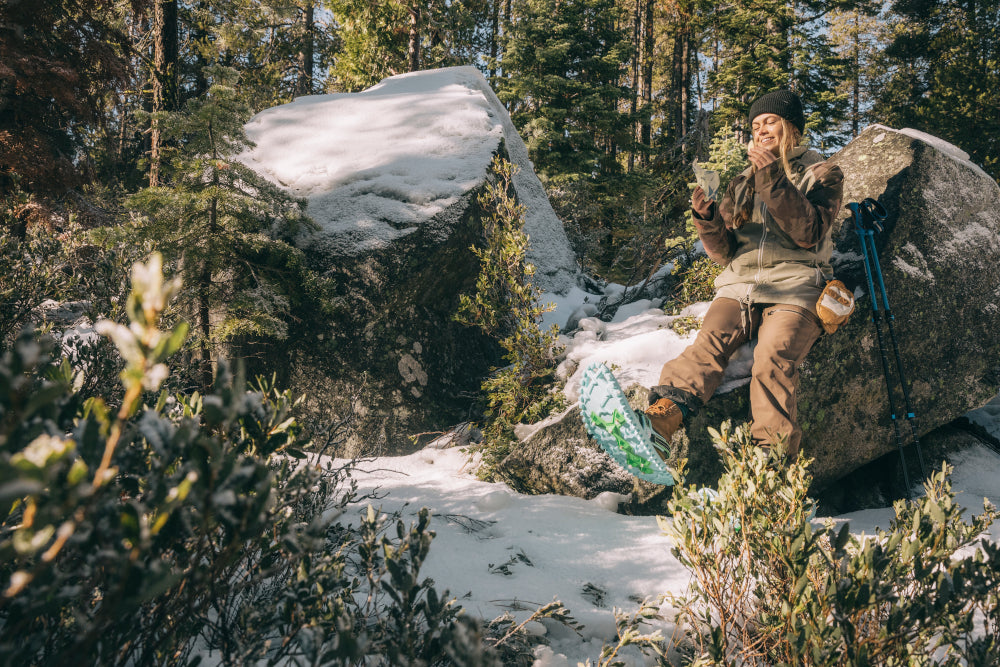
The calories burned snowshoeing are almost twice as much as walking or running at a similar speed. Stay fueled with foods that won’t freeze—peanut butter sandwiches or a bag of almonds will work.
Stay hydrated. Insulated hydration packs and water bottles with insulating covers will work, but a thermal bottle of something warm is going to seem divine on a really chilly day.
You’ll want to pack a pair of sunglasses and sunscreen. Apply sunscreen to any bare skin, as the sun reflects off the snow, increasing its intensity and burning the least likely of places. Like the bottom of your nose.
Hand warmers and foot warmers will keep your fingers and toes cozy in the brisk of winter. Always take an extra pair of gloves and socks. An extra shirt would be great if there’s room in your pack.
Part of the appeal of snowshoeing is that it’s easy to learn. But beware of overconfidence—winter weather and snow conditions can quickly become dangerous. Stay safe and know your route. With that in mind, snowshoeing opens new adventures, adds a new element to old ones, and is a great way to beat the crowds—it’s incredible how few people are on the most popular trails in the winter. Snowshoeing is also an awesome way to stay active in the snow. If you can walk, you can burn almost twice as many calories snowshoeing.
A Note About Etiquette
When you find yourself sharing a trail with cross-country skiers, make sure you walk single file and don’t step on the ski tracks. A snowshoer can mess up the smooth surface in the center of trails that makes cross-country skiing so sweet, so walk at the outer edge of the trail. Skiers also have the right-of-way on trail systems because it's easier for a snowshoer to step off the trail safely than it is for a skier to stop or go around.
Try to avoid trails used by snowmobilers. If you do find yourself on the same trail, snowmobilers have the right-of-way. Keep an eye out or listen for motorized vehicles headed your way. Simply move off trail to let them pass.
Final Thoughts
Know the limits of your knowledge, conditioning, the environment, and gear. Use established trails at first. Avoid snowshoeing alone whenever possible. Leave your trip plan with a responsible person and let them know when you’ll be back.
Alright! We think you’re ready to go. Grab your snowshoes, a friend, and get out there!


